Twisted candles tutorial
A sentence I´ve never thought I would say seriously, but sO mAnY hAvE aSkEd Me AbOuT tHiS! I’m talking about the candle DIY I’ve posted about on my Instagram Stories. Quite a lot wanted to know how exactly we redesigned our basic candles to unique pieces. And now, after right enough time passed so nobody really cares about it anymore: Here’s the tutorial.

First of all, as a disclaimer, I did not come up with this. Shocking, I know! I saw videos on tiktok of people reforming basic candles and immediately was hooked as it seemed quite simple and satisfying and those two attributes are essential for any project I’m about to start.
STEP ONE
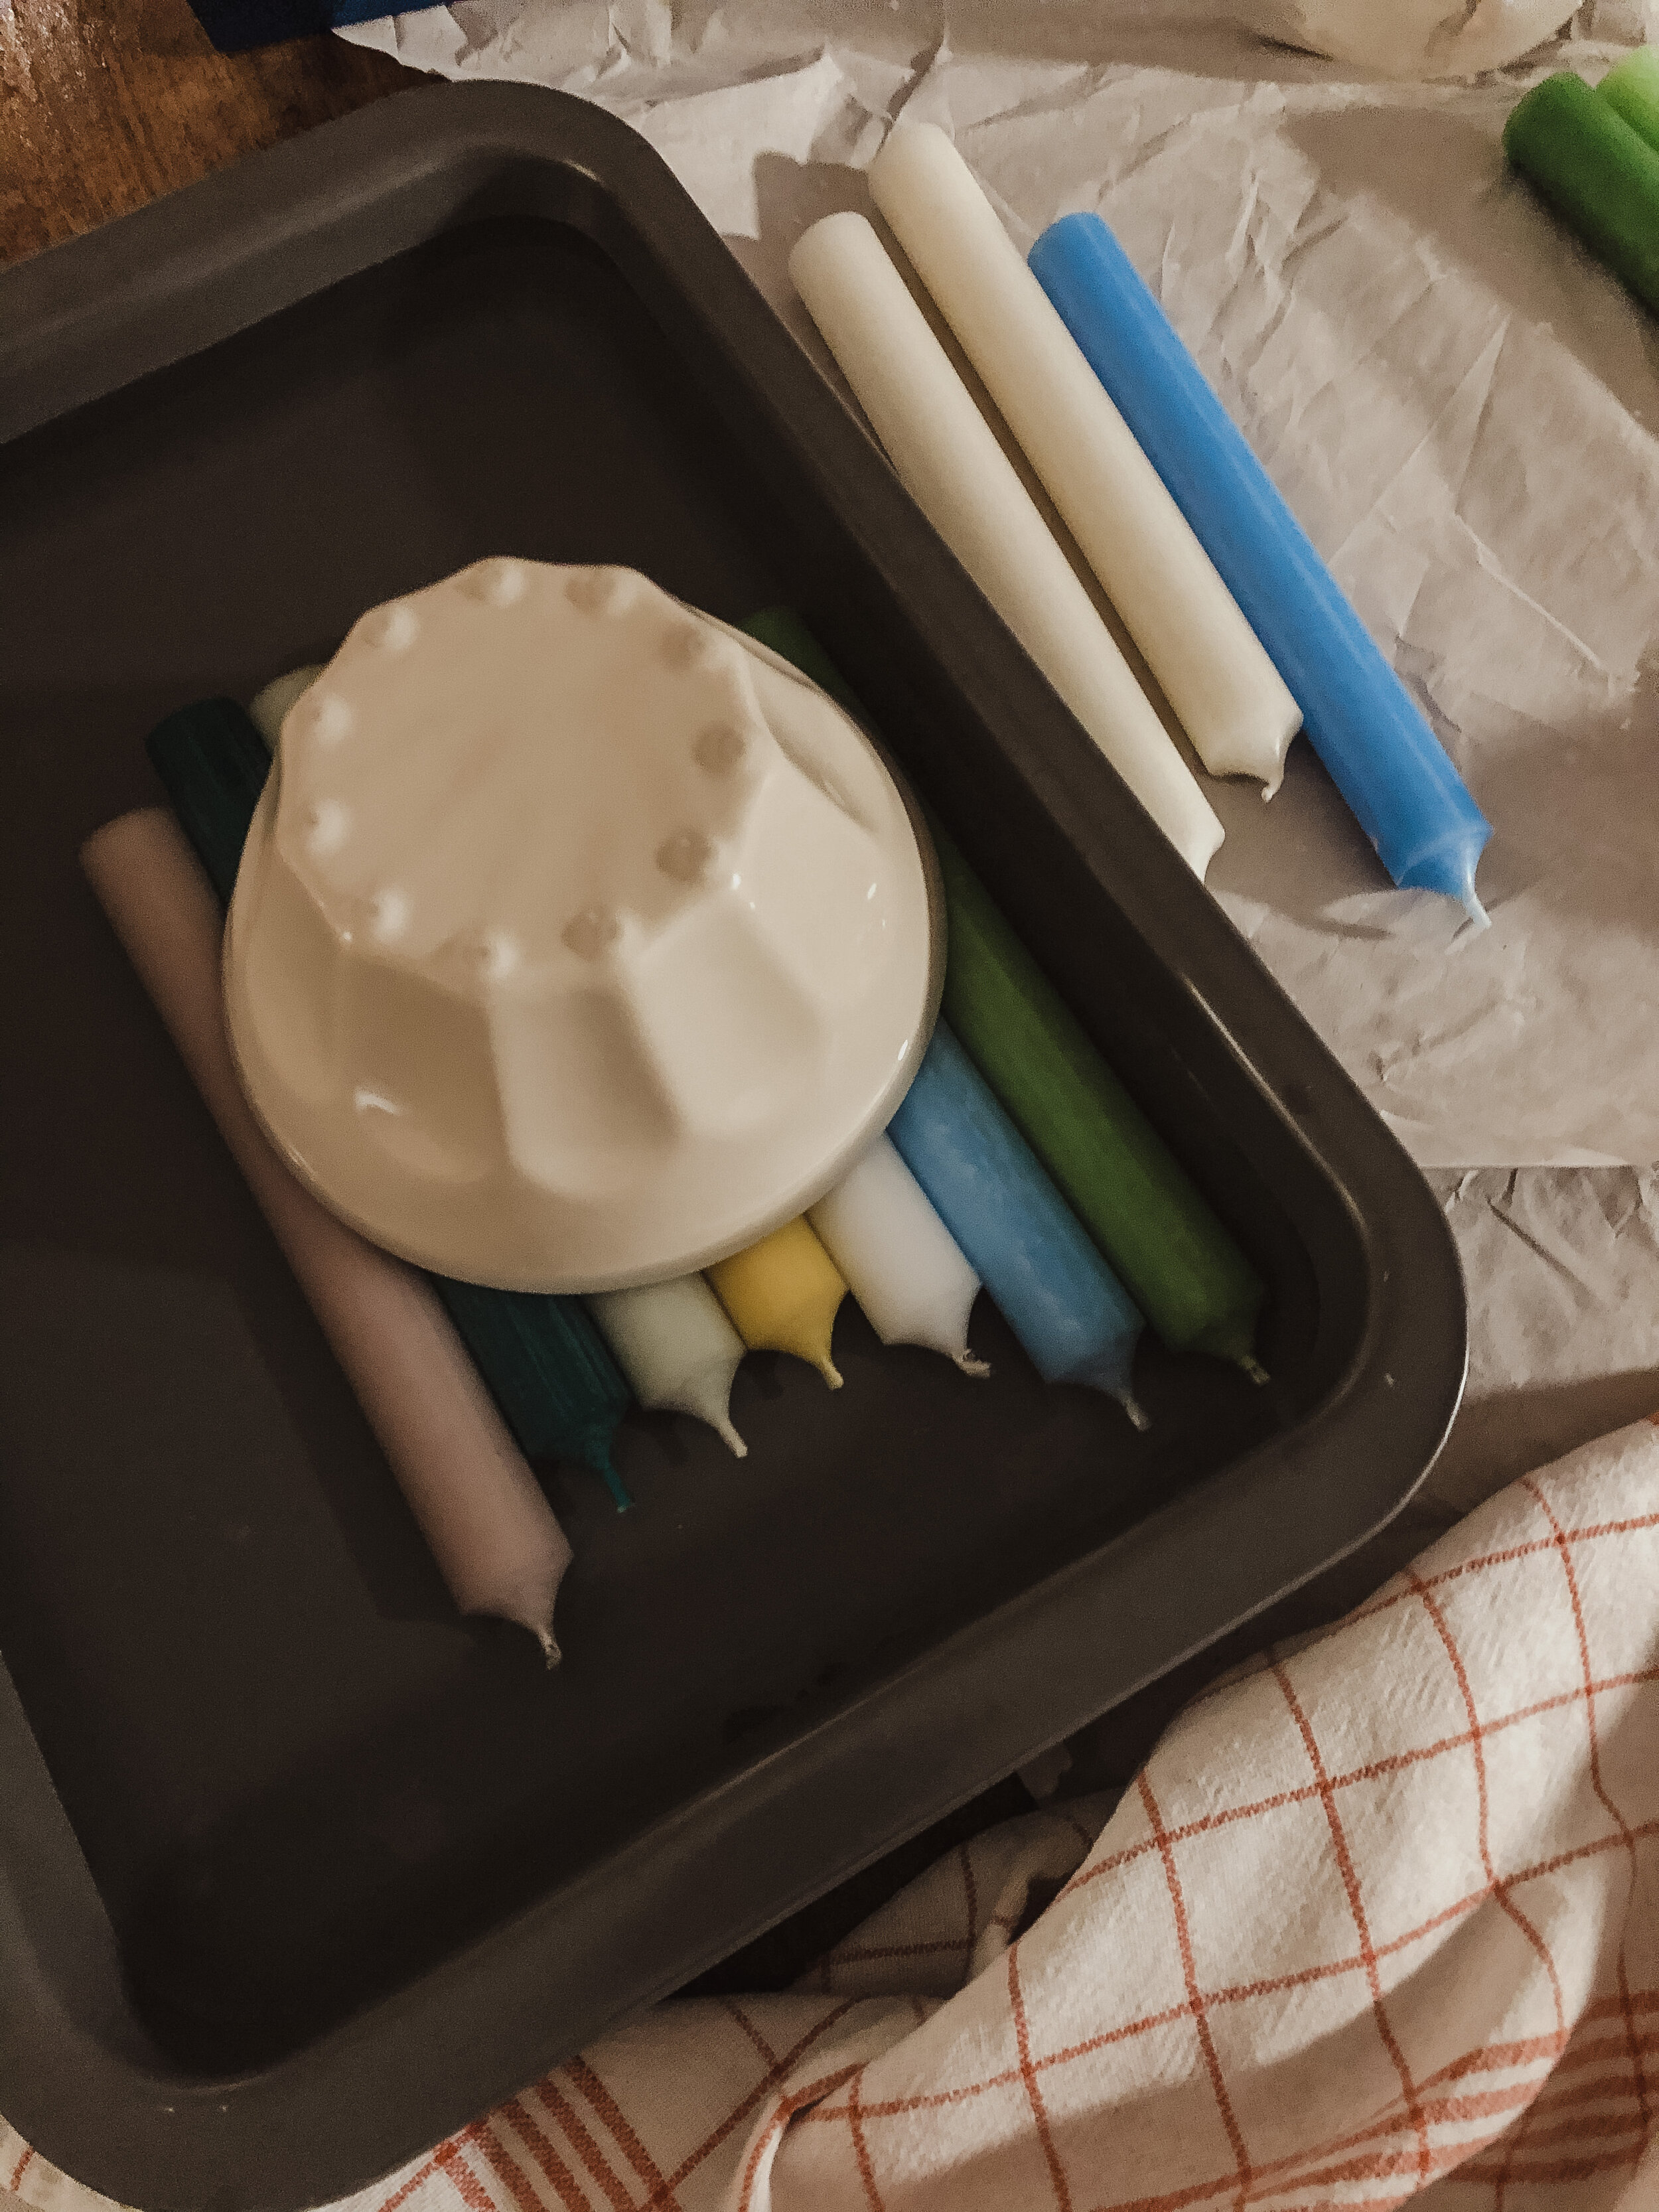
Buy candles. That’s basically it. We bought so many candles, we literally don’t rely on electric light for the next month. You don’t have to go nuts like that but I do recommend buying candles from different stores to test out which ones are the easiest to reform. My personal favourite are the candles we bought at Butlers as they kept their smooth surface even after reforming. You will also need two containers for hot and cold water, a rolling pin and a cutting board. Disco lights are optional but highly recommended. STEp two
In order to form the candles easy and without breaking you need to put them in warm water. The right temperature is key. If the water is too cold, it will take the candles for ever to get ready, if it’s to hot, the wax will ruin the candles’ surface. We mixed boiling hot water with cold water to get to the right temperature slowly without harming the candles. We let them sink in for about 10 to 15 minutes before quickly taking them out of their bath to work on them.step three
Place your soft candle on a cutting board and start rolling the candle out. You shouldn’t take too much time here but also take enough to roll so you don’t break the candle. It’s totally up to you how thin you want to roll the candle out. We mixed up styles, so we had some of them very thin and others barely rolled out. step four
Now the fun part: Wring the candles neck. For me personally it truly helps to think about the old grumpy lady who hit me with her shopping cart without apologising while I'm twisting my candles. I’m sure you’ll find a suiting person/situation from your life to think about. You can get totally creative on how to twist. You can twist them vert tight or loose, make them edged first and then roll them up. Options are endless. You can adjust final touch ups with your thumps. step five
After you are happy with your redesigned candle, let them chill in a quick and cold-water bath in order to let the candle harden out again. After the candle is dried it's ready to go. bonus tip
The literal ugly truth: if you try this out there will be some random ones you won’t be too happy with. On the other hand they are not ugly enough to throw them away. But don’t worry: Christmas is around the corner and your family can’t complain about a self made gift. Wrap a nice bow around your “unique” candles and call it a day.

Please let me know if you as well will try this DIY out and send me some pictures on Instagram @georgsgallery.